How We Built a Geodesic Sauna Dome (Using the Beginner Bucky BallDome Plans)
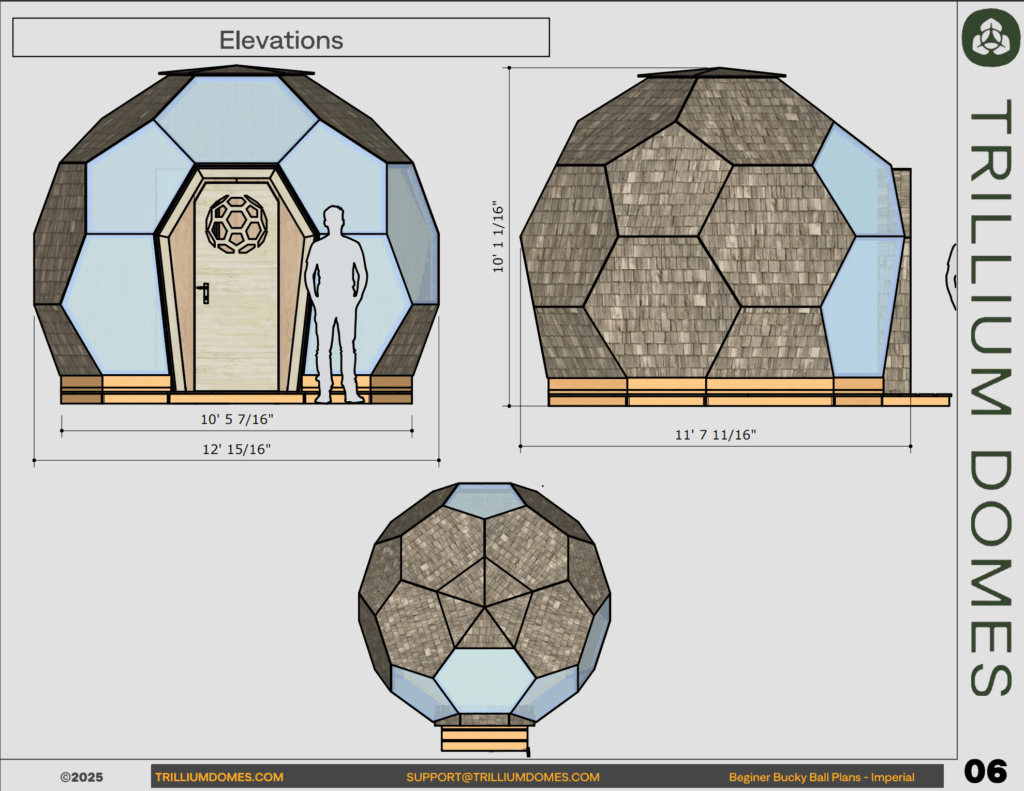
Hey dome lovers — it’s been a while, but I’m finally back with a full build breakdown that I think you’re going to love. We built a fully functional sauna dome up in Alaska, using our updated Beginner Bucky Ball plans, and honestly? It turned out as good as I could have ever hoped. This was a project Camille and I took on with the help of my family, and it might be the most successful example of a dome sauna I have seen yet (if I don’t say so myself) We made a full build video that walks though all the steps AND massively updated the Beginner Bucky Ball Dome Build Plans and 3D Model… But I also wanted to give you a quick run down here so let’s get into the details. Why a Dome Sauna? This isn’t my first dome sauna — you might remember the little Acorn Zome. Big fire, small space = hot dome. But it had limitations. Most notably, the walls curve in starting pretty low, which means you can’t build benches that go higher than the sauna heater. And that’s a problem when you want your feet to be as warm as your head while the sauna is heating up. Also, there was no proper entryway or changing area. It absolutely works — but there’s always room for improvement. So I designed this new version to fix that. Let’s Build a Beginner Bucky Ball Dome Sauna! You can find all the measurements and illustrated steps laid out in full in our Beginner Bucky Ball Geodesic Dome Build Plans Cutting the Struts — Super Simple This dome has one bevel angle and one overall panel length. Therefore it only needs two unique struts — one for pentagons, one for hexagons. We cut ours from 2x4s ripped in half. That gives you two struts per board. If you want thicker insulation, you can go bigger — just know you’re limited by the depth of your table saw with the beveled method. You can either use the deep frame method (see my youtube video on that) or build a scaled down dome inside this one to create as much of an insulation layer as you want. Once your stock is ripped, you cut your miters. The initial miter goes on one end of all your struts. Then we create a simple template to get your strut length, locating the final miter. I like to set up a stop block so I can make consistent repeat cuts once I’ve got the angles dialed in. Building the Panels Each dome face is either a hexagon or a pentagon. Once you’ve got all your struts cut, you can start assembling panels. I use GRK R4 screws — they’re structurally rated and don’t split the wood. For partial panels, like the ones around the doorway, I build full ones and cut them down. You can add corner blocks for extra strength — these are optional, but I like them. They’re just angled 2×4 chunks that stiffen each panel. In the video and plans I show how to set up an auxiliary fence on the miter saw to make the acute angles a breeze. Sheathing and Underlayment For the sauna, we used 3/4″ CDX plywood for the panel sheathing. It’s not structural in this case — the frame itself carries the load — so the plywood just gives us a nailable surface for our underlayment and roofing. We applied roofing underlayment (Grace Ice & Water Shield) before assembling the dome. We left a 6″ overhang on all sides, and during the build, we peeled the backing and stuck them together shingle-style — top over bottom — which created a completely waterproof seal. Work your way from bottom to top, underlapping and overlapping. If you’re using polycarbonate, I recommend trimming it slightly smaller than the panel and leaving a small gap between sheets. I show how to do this simply with a jig in my Ultimate Dome Builders Video. You can seal the gaps with double-sided glazing tape and clear silicone. The Base and Deck The dome sits on L-shaped base sections made from a 2×4 and a 2×6. These create a raised perimeter to attach the dome to your foundation. The bevel and miters make them fit snug around the dome’s footprint. As for the deck, you’ve got three main options: Assembly Day Once the base was locked down, we started assembling the dome panels. I always start at the back and work toward the front (doorway side), working bottom to top. A helper and a small ladder are all you really need for a dome this size. We used screws to attach panels and only tacked them together until the whole structure was up. Then we went back and added extra screws every 6 inches. Once the shell was up, we sealed the polycarbonate seams, trimmed the underlayment, and moved on to finishing the inside. The Interior Wall and Benches In the video I show a really easy way to panelize the interior cladding of the dome panels. This streamlines the process 1000% and make the installation a breeze. Repeatable shapes for the win! We added a freestanding interior wall to divide the hot room from the changing room. It doesn’t carry any load — it just gives us a place to frame the benches and helps keep the heat where we want it. We marked it using a 360° laser level to trace the shape of the dome, then framed it in place using standard 2×4 studs. From there, we built the benches — starting with ledger boards, then adding verticals and horizontal supports. The layout is pretty creative because, ya know, domes! but that’s also what makes it special. You could totally freestyle this, or follow the version in our plans and 3D model exactly. I’ve included every cut you need to make for the interior wall and illustrated the benches in detail. Finishing Touches We cover